Tuesday, September 10, 2013

Whole Wheat Bread using Tangzhong method - Fluffy and moist.- step by step

Wheat bread is my family's favourite now. Initially, H was not comfortable, but as he started tasting it , he nodded his head ,as a signal to go ahead. We don't feel guilty ,as it with white bread. When Swathi of "Zesty south Indian kitchen" gave us a challenge using tangzong method. Prepared dil pasand with it.Had half the tangzhong paste with me.So didn't want to waste it,used it to prepare wheat bread ,which she gave us. It was perfect and moist.


(Adapted from Christine's Recipes)
Prep time: 10 mins 
 Cook time: 170 mins 
Yield: 1 loaf(one loaf tin sized 20.5cmx10.5cmx9.5cm)
 
Ingredients:
* 110 gm milk 
* 45 gm whisked egg 
* 100 gm Tangzhong 
* 40 gm sugar 
* 5 gm salt 
* 200 gm bread flour 
* 150 gm whole wheat flour 
* 6 gm instant dry yeast 
* 40 gm unsalted butter, softened at room temperature 
Method: 
 Whisk the dry ingredients in the bowl of a stand mixer (if you are using a bread maker, add the ingredients according to the instructions of your bread maker. Note: use your bread maker only for the mixing/kneading stage/first rise).  

 Add the milk, egg, and the tangzhong into the dry ingredients. 


Mix until the ingredients come together, and then knead until it forms dough. Add the butter and continue to knead and medium/high speed until the dough becomes smooth and elastic and no longer sticky. 
                                       
To test the dough, pull it until it forms sort of a thin membrane.  This could take up to 20 minutes.
                                       
4. Place the dough into an oiled bowl or dough rising bucket, cover with plastic wrap or a wet cloth , and let it rise until doubled. The original recipe said 40 minutes, but my first rise took 2 hours.  
    
 On a floured surface, deflate the dough . Cover with plastic wrap and allow it rest for 15 minutes
. 
                                       
Take a piece and, using a rolling pin, roll out into an long oval shape. 


         Fold the dough from left to right 


Fold it again from the other side
  
Again fold it from the sides, so that ,we are folding all the edges.
 
Now the edges are completely covered.Now tuck the folded edges down.Let it rise again in a oiled bread pan for another 30 - 40 minutes.Now the dough would have rised to 3/4 of the tin's height.
Place the dough in a pan and brush it with some milk or egg.Keep the proofed dough in a pre heated oven at 350 defrees farenhiet.

Bake for 30 - 35 minutes , or until tooth pick comes out clean.Cool the bread completely on a wire rack and slice it.
Enjoy this wheat bread for your break fast,so nutritious and yummy.


Friday, September 6, 2013

Chettinadu Chinna urulai roast / Chettinadu baby potatoes fry / செட்டிநாடு சின்ன உருளை ரோஸ்ட்

Chettinadu region is well known for its dishes. Baby potatoes  are marinated with masala and roasted .Here comes a simple yet scrumptious dish. I saw this recipe here. Though I book marked it , couldn't do it asap. Prepared this recently and hence the post. When I saw baby potatoes at walmart , couldn't refrain myself  from getting it.The only thing has to be noted is, masala should get into the potatoes very well.So prick the holes ,in a way that the masala will get in the potatoes. This fry goes very well with sambar rice,curd rice or just with rasam saadham.
 Ingredients:
  1.  Baby potatoes - 1/2 Kg
  2. Curry Leaves   - handfull
  3. Oil - 3 tsp
  4. Ghee - 1 Tbsp
For grinding:
  1. Onion - 1/2
  2. Ginger - 1/2"
  3. Garlic - 1 clove
  4. Chilli Powder - 1 tsp
  5. Coriander  Powder - 1 tsp
  6. Cumin Powder - 1/2 tsp
  7. Turmeric Powder - 1/4 tsp
  8. Lemon Juice - 1 tsp (or) Curd - 2 Tbsp
  9. Salt to taste
Method: 
 
* Wash the potatoes very well. Prick with a fork all over them.
* Grind the masala ingredients together without water .Add very little water if needed.
* Mix the masala, 1 tsp oil and potatoes. Marinate for a couple of hours (or overnight in the fridge).
* Heat a pressure pan and add marinated potatoes to it.
* Add a little water (1/4 cup) and pressure cook for 1 whistle.
* Meanwhile, fry the curry leaves in ghee and keep it aside.
 

* Take another pan, add oil and transfer the cooked potatoes with the masala to it.
* Cook on medium heat ,till the potatoes are roasted well.It should be fried evenly.
* Serve  with curd rice.
 

Wednesday, September 4, 2013

Paal Kozhukattai with coconut milk / பால் கொழுக்கட்டை - Vinayagar Chathurthi special / with stepwise pictures

 Paal kozhukattai is a sweet prepared using rice flour. Rice flour is made into small balls and cooked in coconut milk. there are so many types of  kozhukattais like ,pidi kozhukattai,poorna kozhukattai,paal kozhukattai, modhagam,ammini kozhukattai. Out of all,this is my fav kozhukattai. Adding coconut milk gives very good flavor to the sweet.
 
 
Ingredients:
1. Idiyappam flour      -      3/4 cup
2.Sugar                      -       3/4 cup + 1 tsp
3.First coconut milk  -       1/2 cup
4.Second coconut milk-     1 cup
5.Whole milk              -      1 cup
6.Water                       -       1 cup
7.Salt                           -       a pinch
8.Oil                            -       few drops
9.Cardamom powder   -       1/4 tsp


 Method:

We can either use store bought idiyappam flour or home made. Just soak rice for half an hour and dry it under shade. When the rice is 80% dry , grind it into fine powder. Sieve the flour well. Dry roast the flour in a pan. Now the flour is ready to use. Take a pan, add idiyappam flour,salt ,1 tsp sugar,1/2 cup of whole milk and 1 cup of water .Whisk everything together well. There should not be any lumps.Reason for adding sugar here, is the kozhukattais will have the sweetness inside.
 

On a medium flame, cook the mixture ,until it gathers like a ball. When we touch the batter with our wet hands,it should be able to make balls. Then this is the right consistency.By now, the idiyappam flour should be cooked almost.

Now grease our hands and make small balls out of the cooked mixture.Let the kozhukattais are small in shape.This way, it will allow the coconut milk to enter into the kozhukattai easily. One of my friend ,gave a good tip.While rolling,we can just insert one sugar candy (Kalkandu ) in each ball. So when the ball is cooked in coconut milk, the sugar candies will melt and infuse the sweetness into the kozhukattais. Since I didn't have them handy ,skipped that step.But in future,will try to make it.

Firat coconut milk  can be prepared by,grinding the coconut pieces in a blender adding warm water .Now strain the coconut milk using a strainer. This is first milk. Now add some more water to the strained coconut and grind it again. Now strain the second milk .Now ,in a pan, add the remaining whole milk and second coconut milk. Bring it to boil .Don't add the first coconut milk, now. It may curdle during boiling.
 

Bring the milk and coconut milk mixture to a boil on medium heat. Now add the kozhukattais .Using a spoon, slowly mix them, so that they will not touch each other.
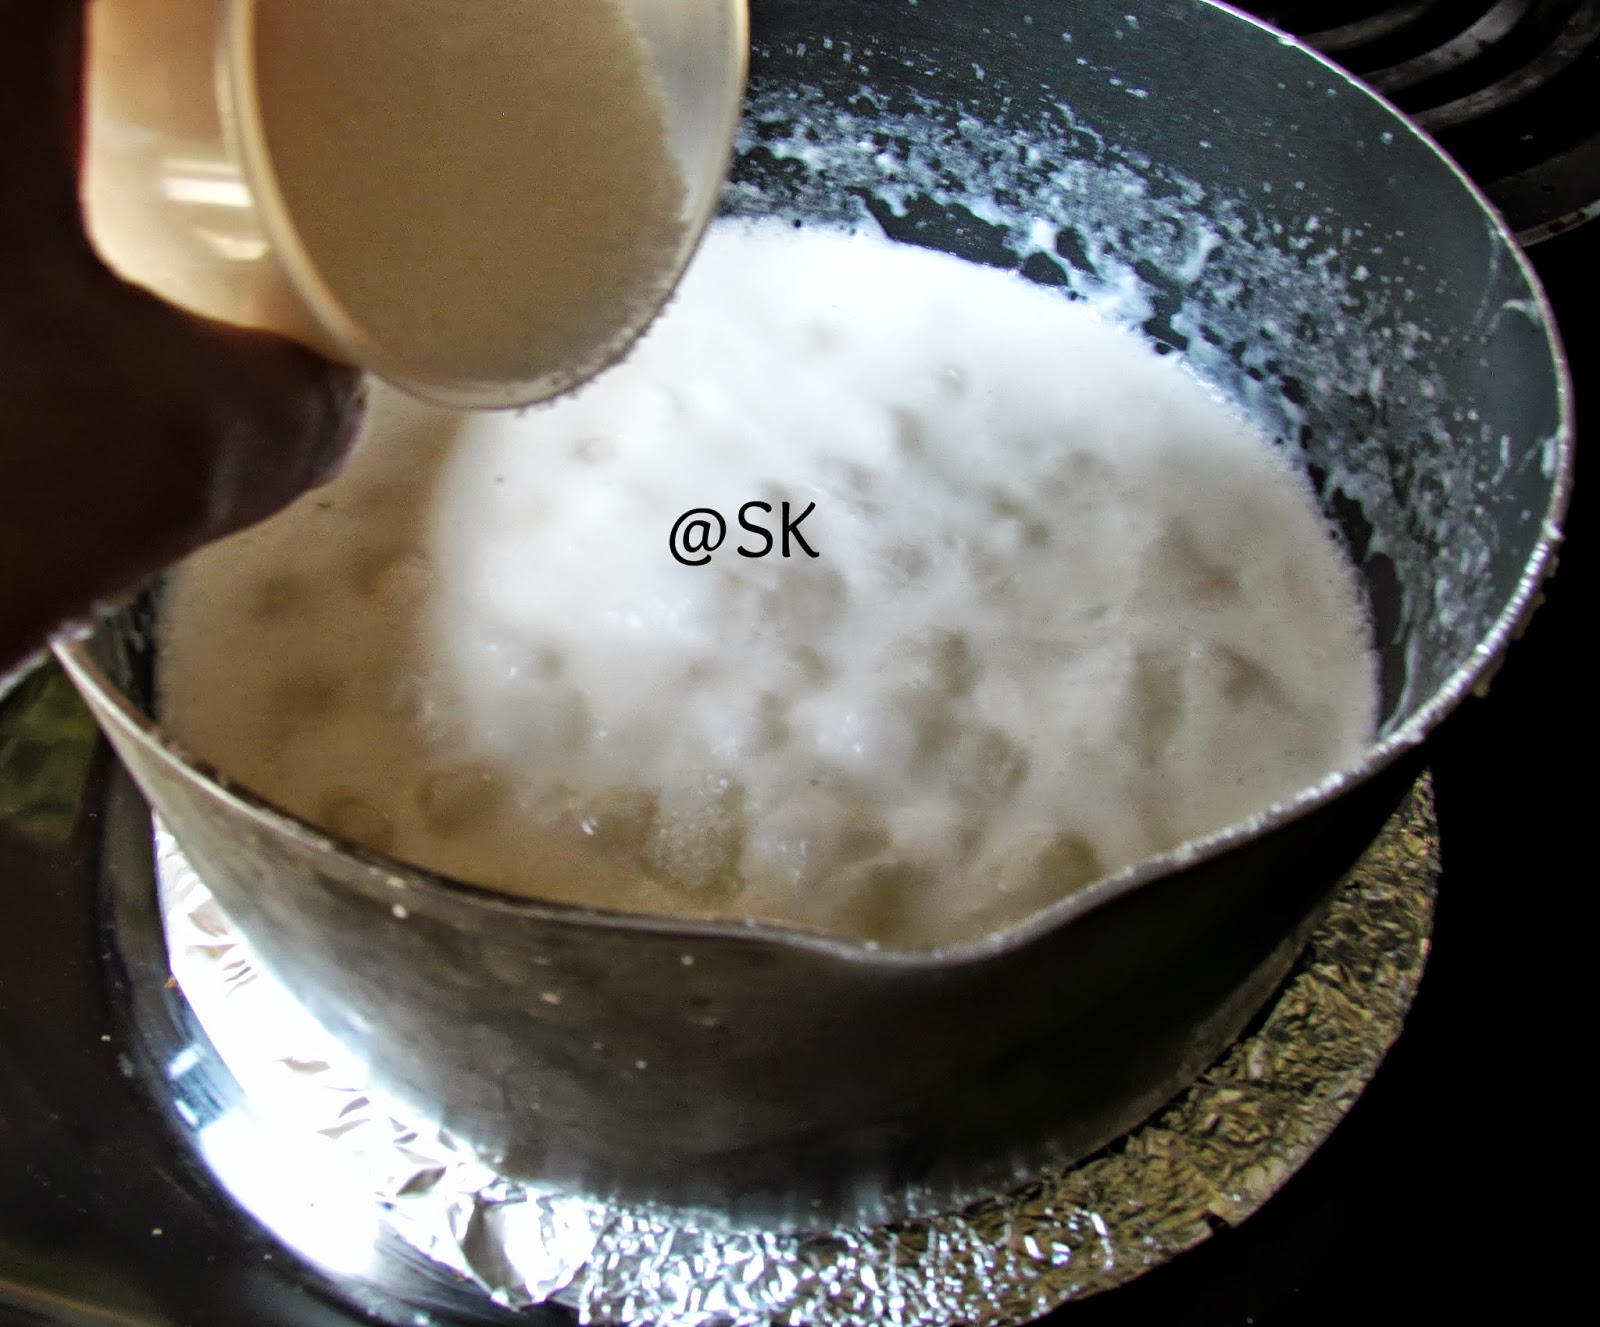
Dump in the sugar and mix it well. Sugar has to melt in the mixture well.We can increase or decrease the amount of sugar according to our taste.

Now ,when the kozhukattais are cooked well, we can see that they have a glossy texture .Turn off the stove .


At last add the first coconut milk and crushed cardamom powder to the paal kozhukattai. Serve it warm .Sure everyone in the family will like this kozhukattai.


                                                         Happy Vinayagar Chathurthi !!!


Monday, September 2, 2013

Sweet and Sour Chicken / Pineapple Chicken - With stepwise pictures - International Food Challenge

This is the first challenge givne by Saras of Saras Kitchen and Shobana of  "Kitchen secrets and Snippets" for the International Challenge. Out of these recipes from "Cantonese Cuisine", this sweet and sour chicken grabbed my attention. So prepared this with pineapple. The chicken was so yummy with a hint of sweet ness together with sourness. It was a complete meal with fried rice.We enjoyed it a lot. 
Prep time: 15 to 20 min
Cooking time: 10 min
 

Ingredients:
1.1/ ~ ½ kg pound boneless chicken, cut into 1 “ pieces
2.Oil to deep fry the chicken
3.Sesame oil 1tbsp.

For making sauce:
  1.  ketchup      - 4 tbsp 
  2.  chilli sauce - 3 tbsp
  3. . plum sauce  -  3 tsps. else substitute with 1 tbsp. Tomato Ketchup+ 1or 2 tsp. Vinegar, adjust according to the sourness u may like + 1 tsp. brown sugar
  4.  light soy sauce  - 1 tsp.  
  5. water                - 2 tbsps
  6. Sugar                  - 1 tsp. (add more sugar and check tasting after the first to see if you want to add more sugar)
  7. Pineapple juice  - 2 tbsp. (optional)

Original recipe calls for plum sauce for a deep flavor of the original Cantonese version.
 
 
 To marinate:
  • 1 tsp. corn flour
  • 1 tsp. custard powder
  • 1 egg
  • 1/2 tsp. salt
  • White pepper powder, to taste
  • 1 tsp Soy sauce   

* Add a tsp. of water if needed, I don’t think it will be necessary.
* Marinate the chicken with the above ingredients for about 10 minutes.  Use your hands to mix well.

To dredge the chicken:

3 tbsps. All purpose (plain) flour
3 tbsps. Corn flour
2 tbsps. Rice flour

* Gather all the flour in a bowl and mix well. Set aside.

Vegetables:

1 large red onion 
1 Green  capsicum
1 red  pepper
½ cup pineapple chunks (skip if it’s unavailable)

* Dice the veggie’s into ½” pieces. Set aside.


Method:
* Heat enough oil in a sauce pan to the medium heat . Dip the marinated chicken pieces in the flour, shake off the excess flour .

*  Deep fry until it is 50 % cooked, remove from the drain and drain on a kitchen tissue.
 Let them cool for 10 minutes.

Again fry the half cooked chicken in batches until it is almost cooked, say for a minute. The texture should be crisp and light golden in colour. Cool the fried chicken for another 10 minutes or so.


* Strain the fried chicken on a kitchen towel. This way all the excess oil is shedded.


* Heat about 1 tbsp. of sesame oil on a separate pan.  Sauté  the onion and red chilli peppers, cucumber, capsicum, until fragrant.

 
* Now add soy sauce, ketchup, chilli sauce and plum sauce. If you can't get this sauce, just skip it.Add sugar and pineapple juice . Don't cook the sauce too much ,if not the veges will become too soggy. At last add the fried chicken and give it a toss.


* The chicken can be made semi gravy,by adding some chicken broth or had it dry ,like this . This chicken goes very well with fried rice.The veges can be added according to our taste .


International food challenge

International Food Challenge is evolved out of similar interests, passion in exploring all the cuisine from all over the world. As a result, we, Saras of www.sarasyummybites.com and Shobana of www.kitchensecretsandsnippets.com  have teamed up to welcome  foodies , our talented food bloggers  to join in this mission to learn , explore the world cuisine  along with the heritage every country possess  and get to know some ideas what every country has to offer with respect to food . Come foodies, let’s all join our hands in this journey of crossing many virtual boundaries in the quest of finding new food ,fresh tastes  from  around the globe  through this event  IFC .
How it works:
The host and the founders  are the one’s  who will go through the cuisine of the given month and they will narrow down the results to 3 top most recipes.  In  the beginning of every month, say on 1st, the host of the given month will let out all the three recipes  in detail along with the link and the members have to select the one they like and should submit the challenge on the said date, which is 30/31st of every month.

The best presented dish gets the privilege of being the cover picture of our Facebook page for the whole month along with their copyrights. How cool is that !!

Do u have the urge to learn the world cuisine as simple as that, u want to try some new dish one at a time,  then, what’s stopping you foodies, come join us  let’s form a  group and let’s get started.. Yay !!!

Join our FB group HERE to get in touch with the event as well as for the latest updates.

Wednesday, August 28, 2013

Uppu Seedai / உப்பு சீடை - A detailed post with complete pictures for Krishna Jeyanthi

 Wish you all a happy Gokulashtami !!! Krishna Jeyanthi will not end without preparing seedais. While I was talking to my MIL ,she gave me so many tips for seedai. So I prepared myself with her recipe and tips. When I informed my mom ,that I am going to prepare seedai, she said "What?" no .Its too dangerous to prepare seedai .I asked her why ? She said, that there are much chances for it to burst. We had a bad accident at my granny's place, where seedai started bursting  all over the kitchen ,splashing hot oil.
  She also cautiously told the idea of pricking the seedais with needle or toothpick. This way, a vent is created for the air to escape while frying. One more reason it bursts, while frying is ,the presence of moisture. So when we take all the moisture out, it will not burst. So all the ingredients like coconut should be dry . Also the seedais should be completely dried on a paper atleast for an hour and then fried. This is also very essential. So these three steps ensures us safety. If you follow these 3 golden rules,I bet you will get seedais very well.
 

Ingredients:
1.Rice flour                      -         1 cup
2.Urad flour                     -         2  tbsp. .
3.Butter                            -         1 tbsp.
4.Sesame seeds                -          1 tsp
5.Pepper pwdr                 -           1/4 tsp
6.Coconut  pieces            -           4 pieces or 2 tbsp. (shredded coconut)
7.Salt                               -           to taste
8.Oil for frying
9.Water                           -           as needed


Method:
* We can either make rice flour at home or use store bought rice flour. If you are going to use home made rice flour, then wash rice and soak it for half an hour .Then dry the rice under shade .when the rice is 80% dry, grind it in a blender in batches. Then sieve the flour. Now in a heavy bottom pan, dry roast the rice flour, till it gives out nice aroma. Similarly, for the urad flour, roast urad dal in a pan. When it turns golden brown, cool it completely. Grind the urad dal finely. Sieve the flour well ,without lumps. Now mix them together. Here I have the mixture of rice and urad flours. 
 
* We can either scrape the coconut using a scraper. Since I didn't have coconut scraper, peeled the coconut pieces and pulsed in a blender. Don't add water to the blender while pulsing, so we will be getting  finely shredded coconut. Make sure the shredded coconut doesn't have any lumps.
 

* Take a pan,add the shredded coconut and dry roast it,till all the moisture is taken away. This step is essential ,as the seedai should not have any moisture.


* Turn off the stove,when the coconut turns golden brown. We can feel the aroma,when it turns golden bown colour. Make sure not to turn the shredded coconut into black colour.


* Take a mixing bowl,add rice flour,urad flour,salt,sesame seeds,fried coconut,butter  and pepper powder .

 * Using our hands,blend butter and all other spices with the flour.Slowly ,crumble the flour. This way,we can check,whether if there are any lumps in the mixture.


 * Now add water little by little and form a soft ,pliable dough. My friends say that the dough should be in a consisitancy, that when we form it into a ball ,it should hold its shape. When we press it ,it should be crumble again. Make sure they are not too hard.


 * Now divide the dough into 4 parts . Make small balls out of it as shown. Don't press hard ,while making the balls. Because, this will build a pressure inside the seedai and it will blast ,while frying. So make loosely packed balls.Make small seedais ,if not it will not cook properly. Male tiny balls ,this will make sure the seedais cook fast .


* Take a clean needle or tooth pick and prick holes in the seedai. This will make a vent for the air to escape while frying.This is very essential step ,to avoid any accidents in the kitchen.


* To do this easily , just roll the seedais in batches and prick them ,as I did.This saves us some time and ensures that all the seedai are pricked. Repeat this process for all the seedais.


 * Now take the rolled seedais and dry them on a clean news paper or wash cloth. Let all the seedais dry for atleast an hour. This will take away the moisture from the seedais. So it will not burst ,while frying. So when you take the seedais in hand after an hour, it will make sound, when they touch each other. It will not be a loud noise though :) This will make sure ,that they lost all the moisture.


* After an hour, pour oil in a pan and bring it to medium hot. Now test , the temperature, and  drop one ball and see whether it bursts . If it bursts ,then there is moisture in the seedai or it is not pricked by the needle. So allow it to dry for more time. Once the seedais are dried well, slowly fry them in medium hot oil in batches.


*  Slowly turn the seedais ,in circular motion.This enhances the seedai to get cooked evenly on all sides. Don't tempt to take the seedais soon, then it will be just cooked from outside and not inside.When the seedais turn golden brown on all sides,strain them on kitchen towel. Don't cook the seedais in low heat or high heat.It shoul be cooked under medium heat.


* Cool the seedais completely and store them in air tight containers. It stays fresh for atleast a week. We can also add a tbsp. of roasted gram (pottukadalai) flour for a different taste. Instead of adding shredded coconut  ,we can also use coconut milk to the flour and knead it. Adding pepper powder is purely optional. We can skip that,if we don't like it. 

 
Updated notes:
                  Second time ,I used less water to the given ratio of flour and prepared a dough ,which when holded between our fingures, it retains its shape and when crumbled down, it crumbles. This is the perfect texture of the seedai. At first , it may look like ,we would not be able to make balls out of it.But ,when we grease our hands with some oil and shape the balls,it holds its shape. Don't press too much. After drying for half an hour, it turned out too good. Use butter at room temperature. Make small balls for it to cook evenly.


You might also like

Related Posts Plugin for WordPress, Blogger...